
This blog is being reposted with permission of the author, Dick Steinkamp. You can read the original post from December 6, 2013 on Dick’s blog.
Unfortunately, the local shop that did my panels no longer does this work. This blog may help your local installer and I can provide (at no cost) PDF files of all 7 panels. The PDF files will be emailed to you. They will contain digital images of full size templates. You will need to go to a local print shop with the files that has the ability to
print the appropriate size. You can contact me at dick@steinkamp.us. [EDITOR’S NOTE: Thanks to Dick, all seven templates can be downloaded at the bottom of this post.]
The blog lists the materials used in the fabrication of my panels. You may choose to use different materials. In any case, I suggest you make “scrap” panels from the templates to insure proper fit of the finished panels.
Development and Installation of the Headliner Panels
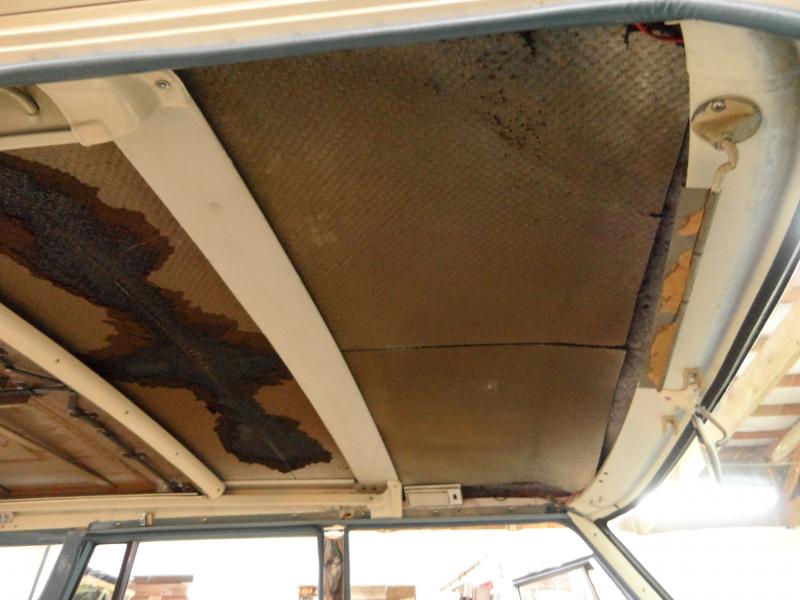
As my 1963 Studebaker Daytona Sliding Roof Wagonaire neared completion, I started searching for headliner alternatives. The original headliner for these cars (1963-1966 sliding roof Wagonaires) was a cardboard/foam sandwich with white embossed waffle pattern and silver dots on the “show off” side. These are no longer available and not reproduced, so I was on my own.
There are 7 pieces that make up the headliner. Front panel, middle panel, sliding roof panel, and 2 narrow sections on each side under the sliding roof rails. In addition, the crossbar that covers the joint between the front and middle panels needs to be covered in the same material that is chosen for the headliner itself.
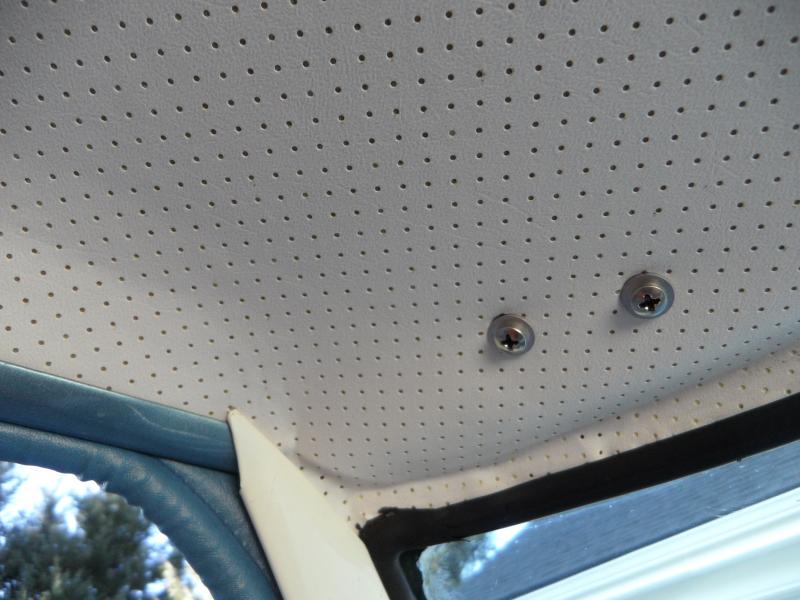
The front panel is the only real complex piece. It has some compound curves to fit to the roof contour; it contains the cut out for the dome light and screw holes for the visors, visor clips and rear view mirror; and it must fit under the windshield seal. The other pieces are relatively straight forward.
A friend with a similar car provided me with a PDF file of the complex front panel. This was a great head start on the project.
I took the car to the upholstery shop on Friday and he started into the job that weekend.
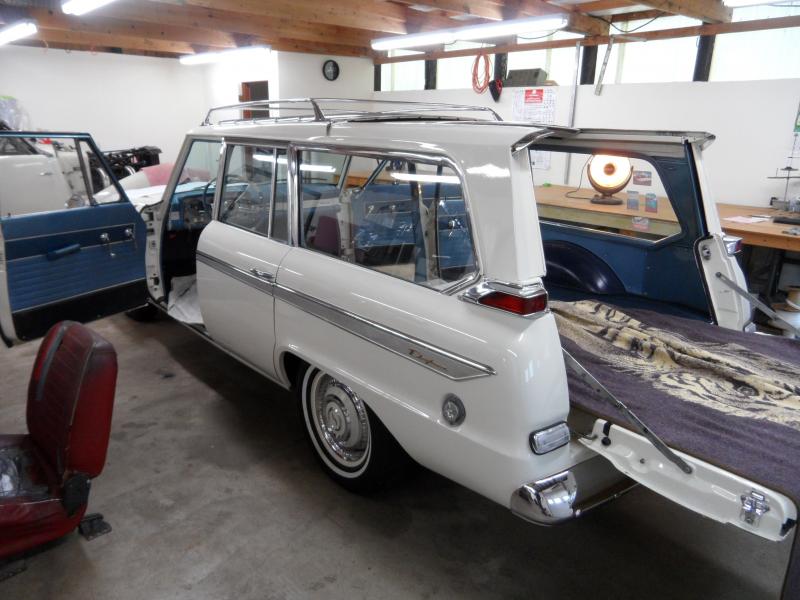
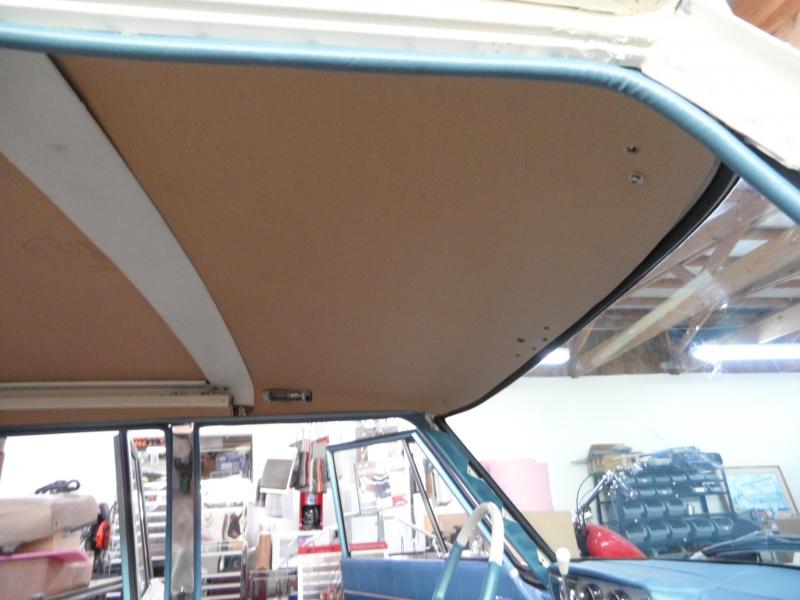
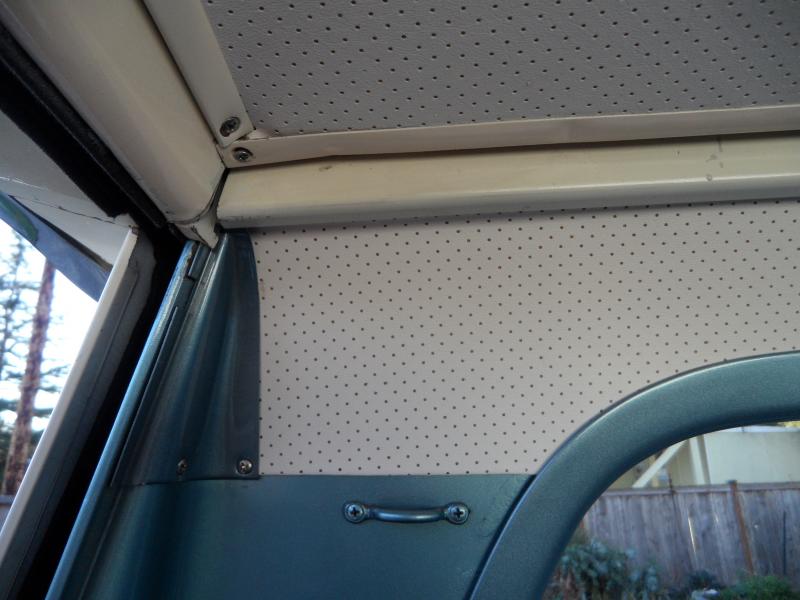
This is what he had to work with…
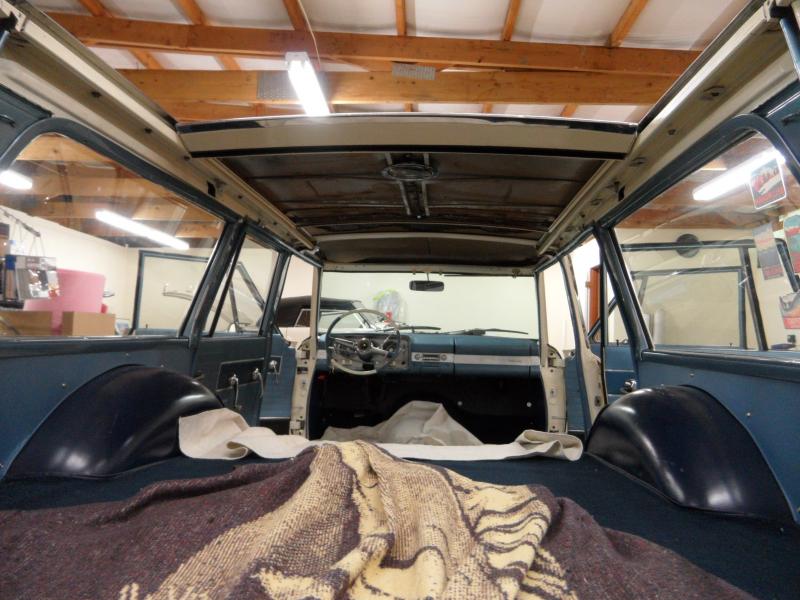
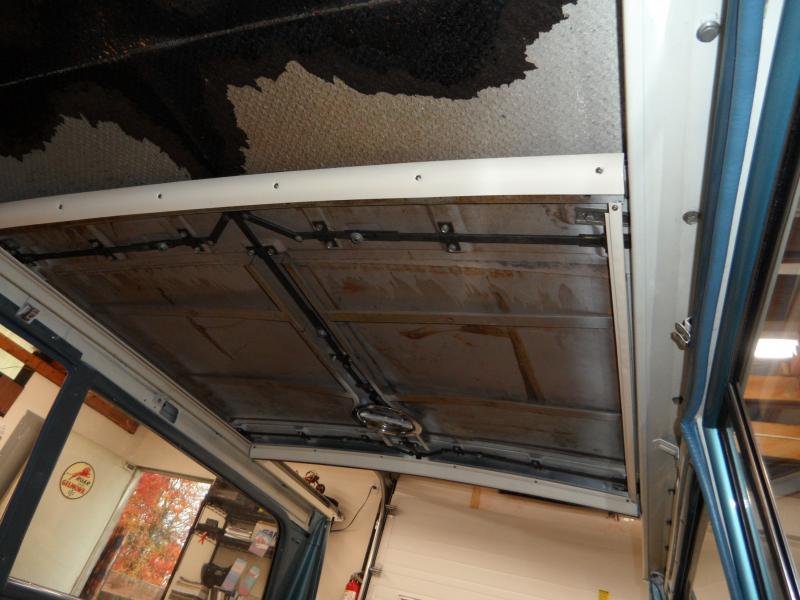
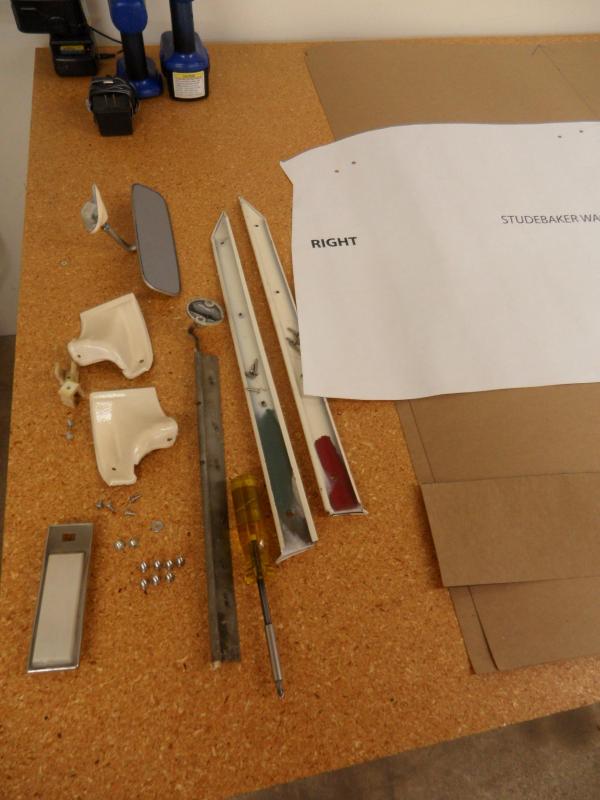
I had put all the trim in place.. He would be removing this trim, but wouldn’t have to be searching for fasteners or learn what went where.
He started by measuring each panel opening and making scrap cardboard patterns for them. He used the PDF template provided to make the scrap front panel. In all cases he had to add or subtract material to the scrap panels in order to get an exact fit.
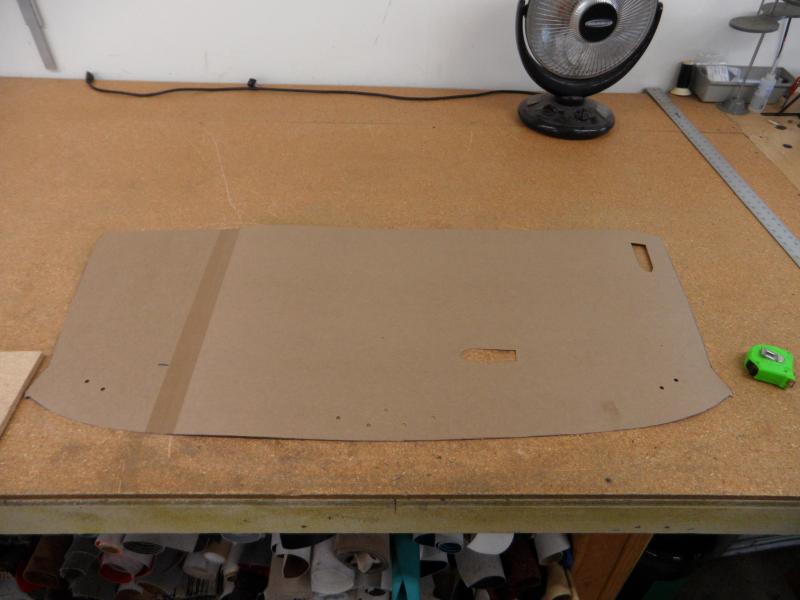
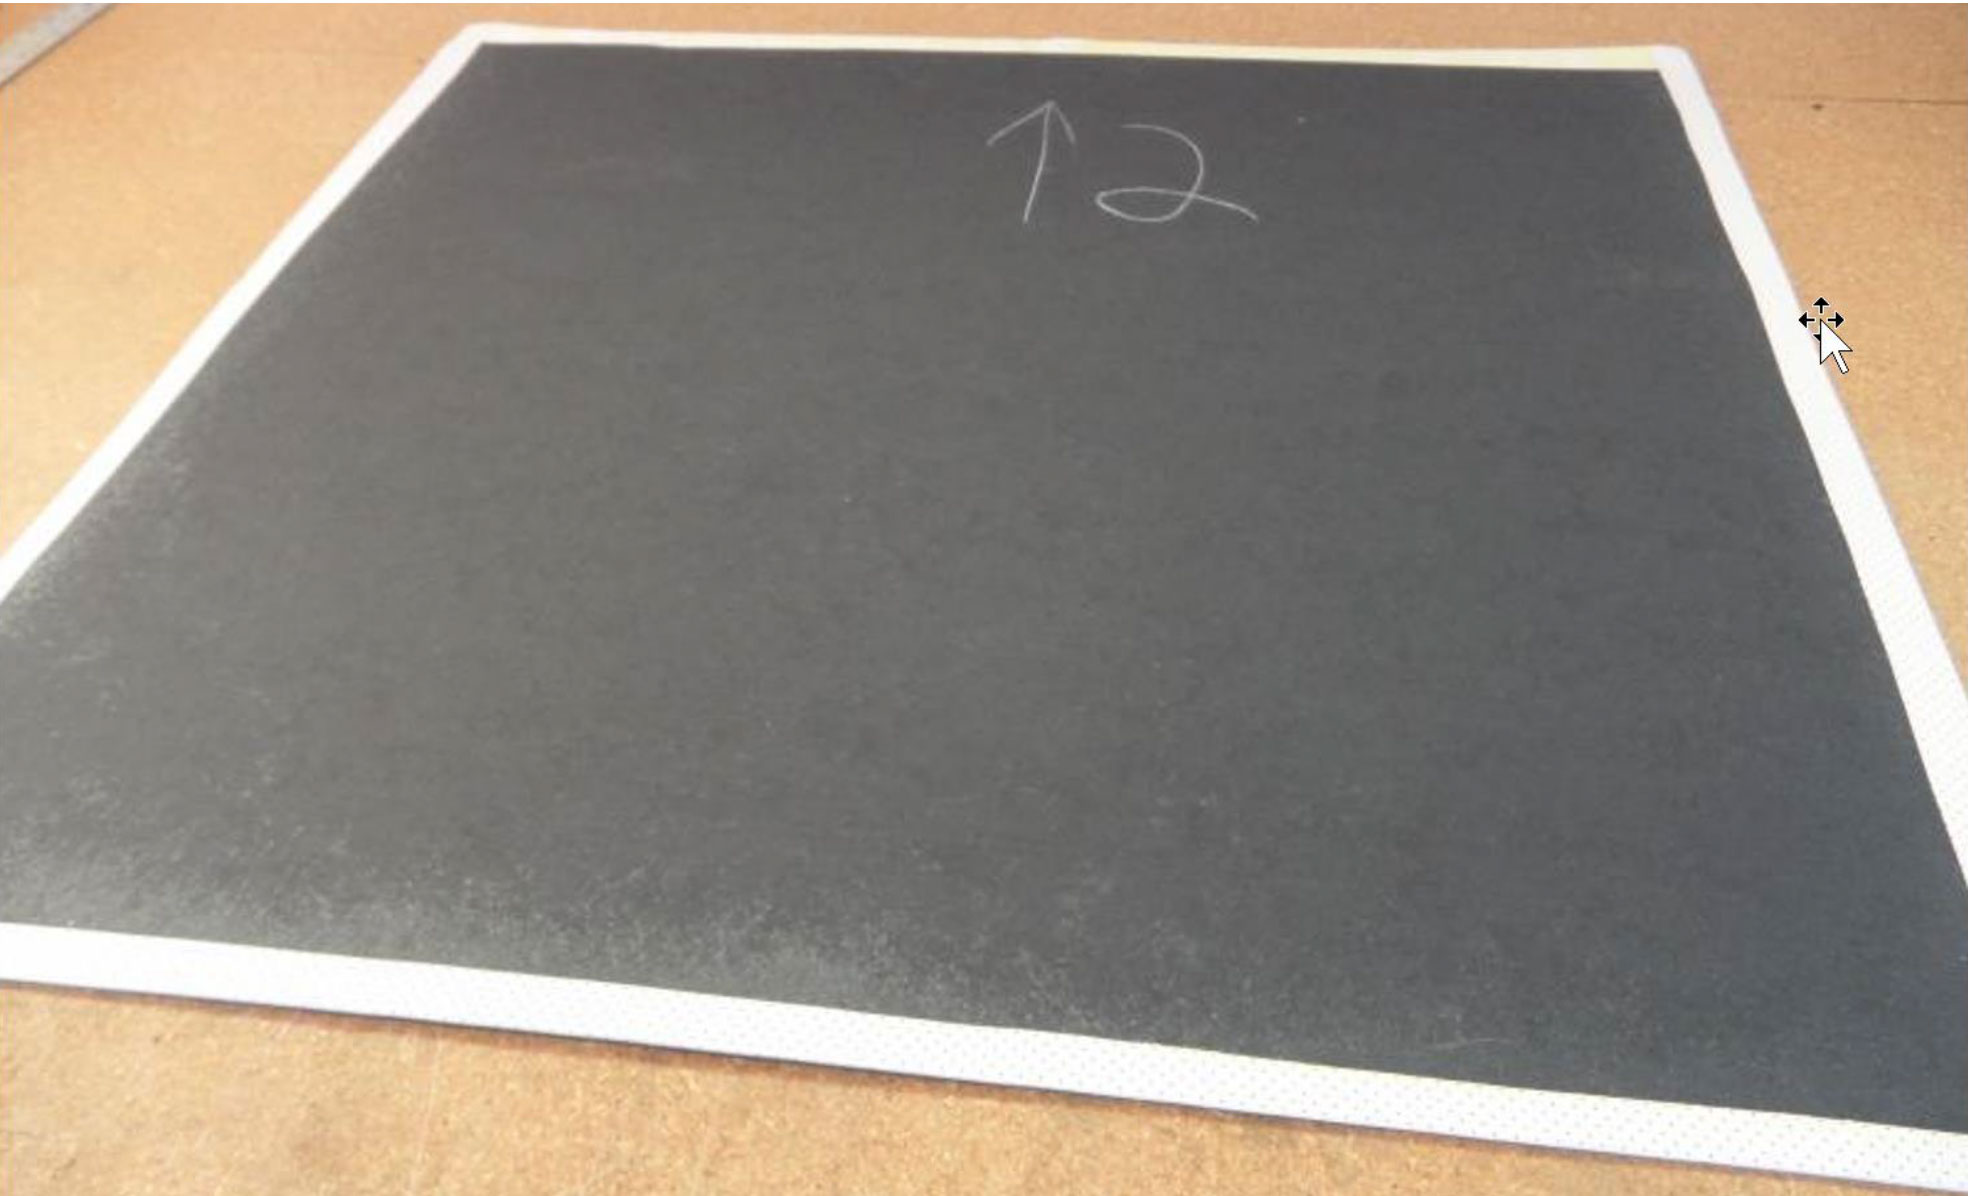
Once the scrap cardboard patterns were finalized, he produced the final cardboard panels from them…
He used a heavy coated and embossed panelboard from PerfectFit which is his wholesale supplier. This is also known as Package Tray Panel Board. The material is raw cardboard on one side and embossed and coated on the other with a black, vinyl pattern. The coated side will be installed UP and the uncoated side will have the vinyl headliner material glued to it.
Again, the front panel is the tough one. It needs to be molded to the roof contour before the headliner material is attached to it or the holes in the headliner material will be distorted. This must be done slowly and carefully or the panel board will kink and crease. This is probably the toughest sub-job of all.
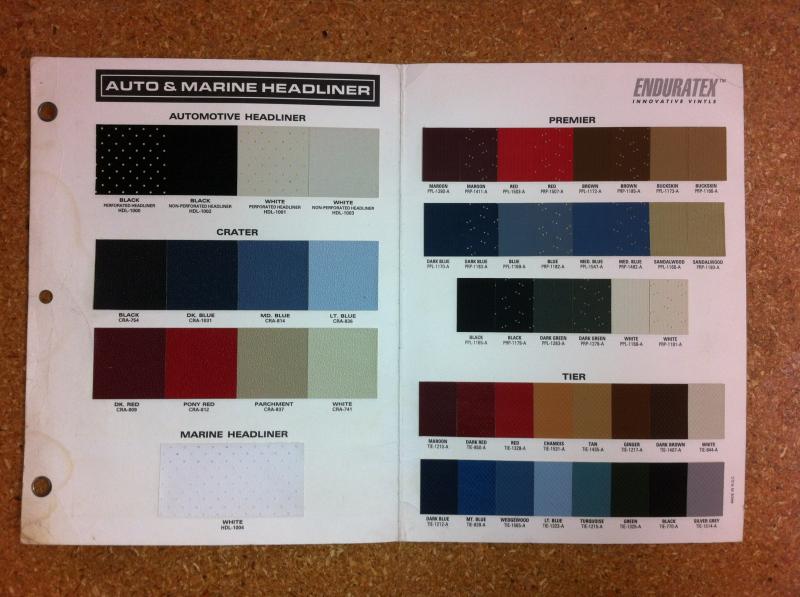
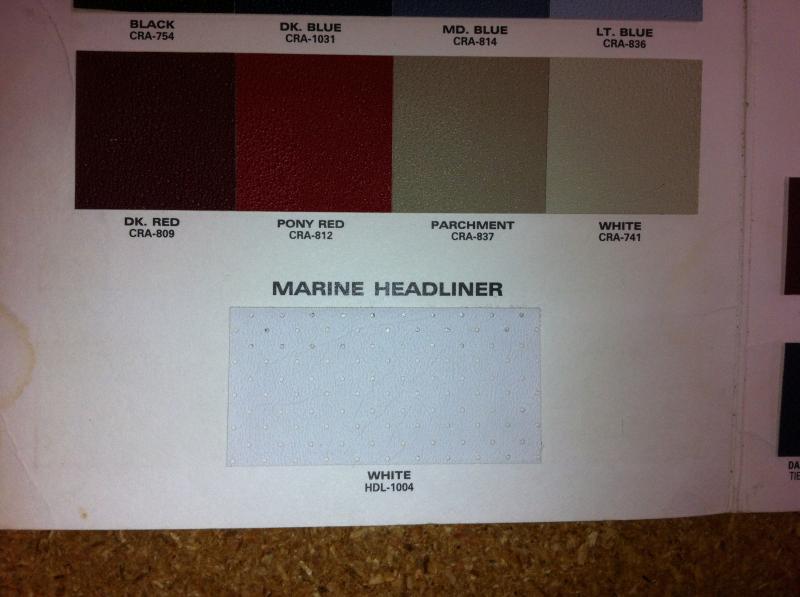
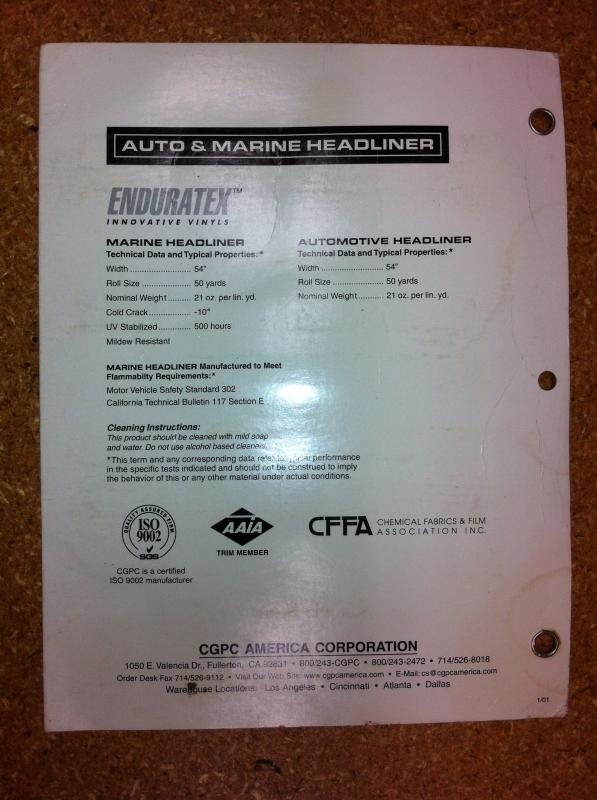
The next step was to cover the panels with the headliner material. There are many vinyl and cloth options available. I chose a white-white marine vinyl perforated material…
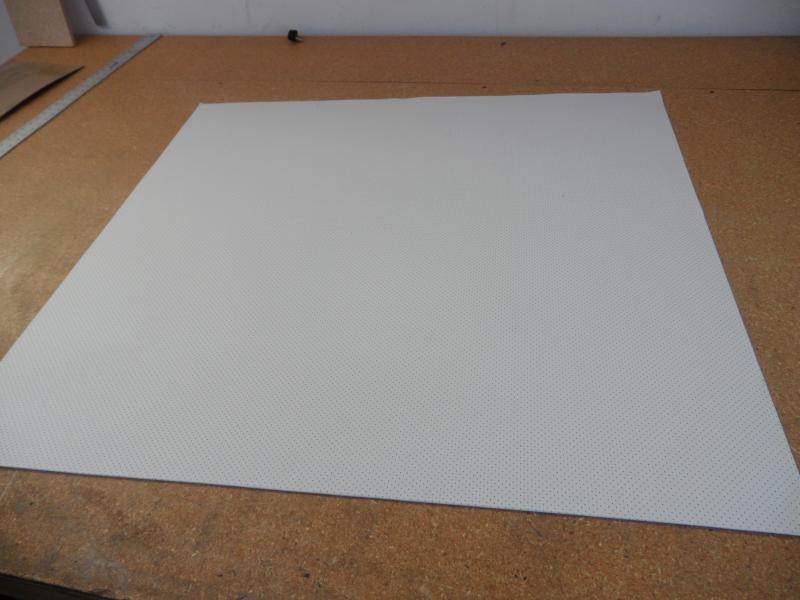
He covered each panel and wrapped the edges without overlapping the material. Here is panel #2, the middle panel…
For the front panel (panel #1), He left extra material on the front edge to tuck into the windshield seal and to be sure the corners were covered. It came out nice…

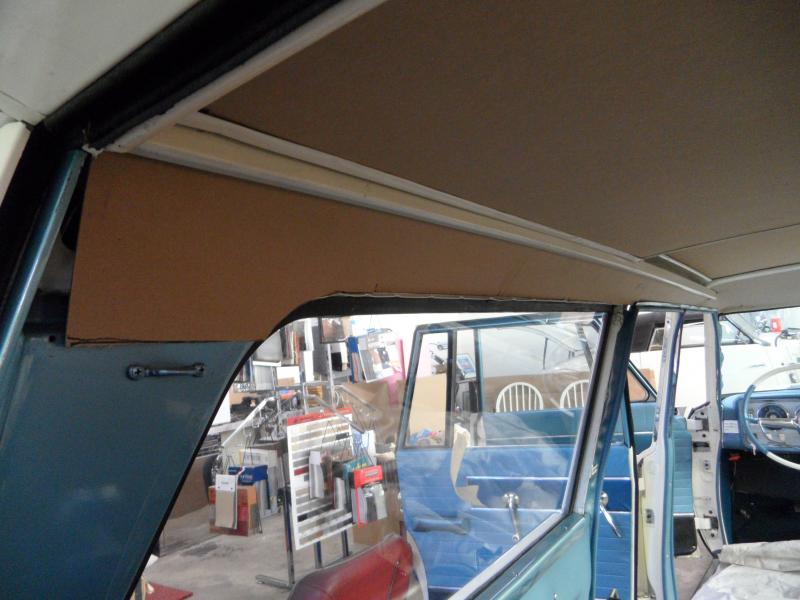
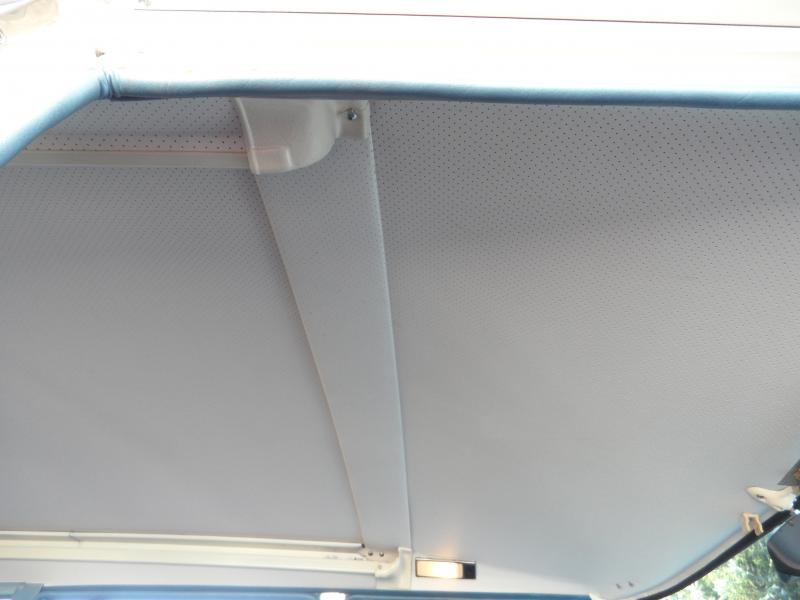
As mentioned earlier, the original sides under the sliding roof rail were two pieces and had a visible seam between them. He was able to join the two panels that made up each side from the rear (unseen side) with another piece of glued cardboard. He then covered the pair with headliner material. This made the sides seamless…

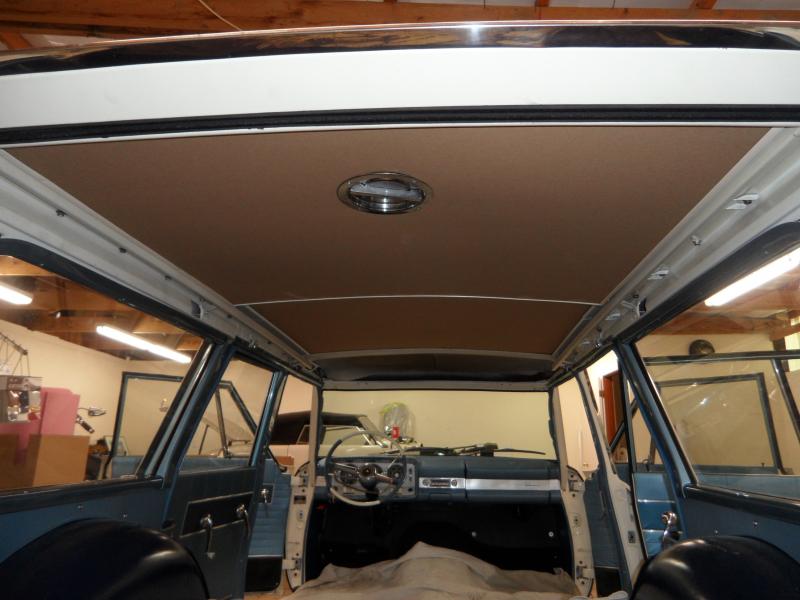
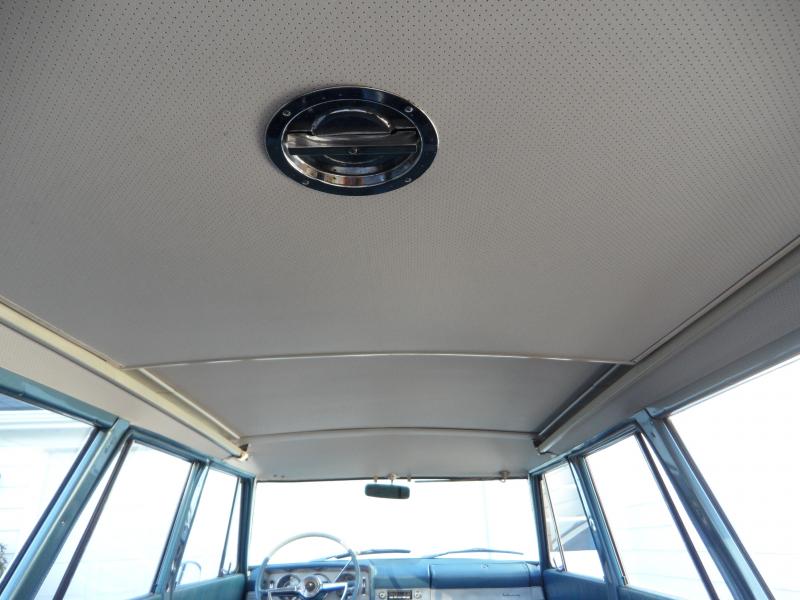
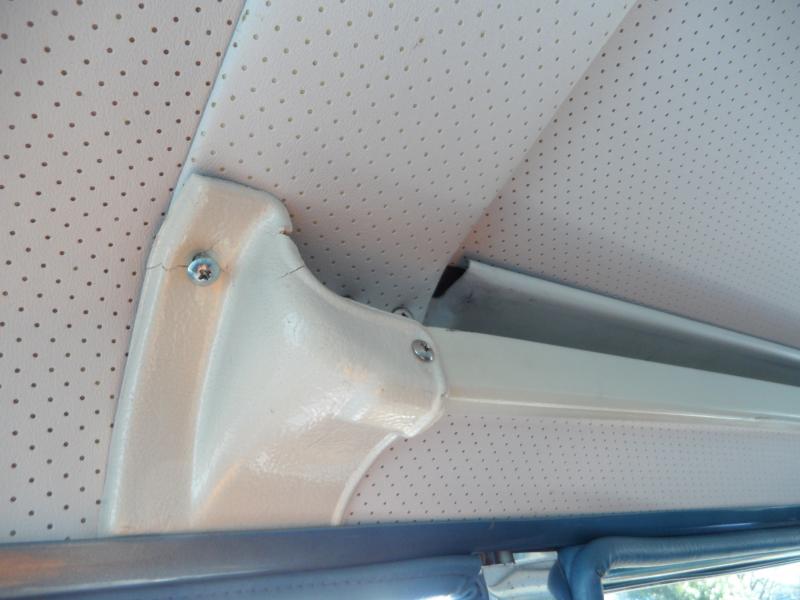
The crossbar that covers the joint between the front and middle panels was covered in the same headliner material and installed…
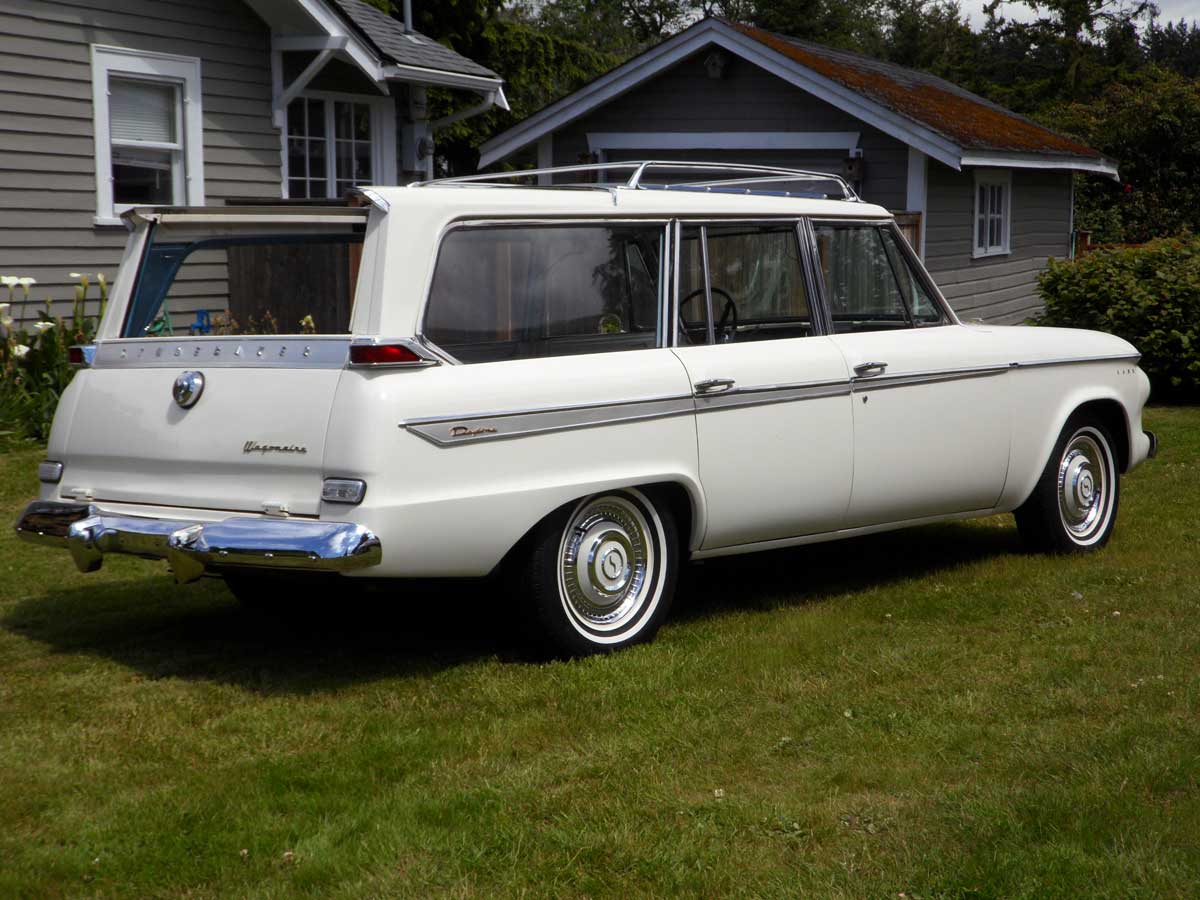
The remaining trim was replaced and that was that. A beautiful headliner. Not the stock waffle pattern with silver dot original, but it could pass for original and looks even better…
Headliner Templates
Click on the following links to view a PDF file of each of the templates Dick provided.
- Studebaker Headliner Cut List
- Front Left
- Front Right
- Rear Left
- Rear Right
- Roof Middle Two
- Roof Rear Three
TO SEE PHOTOS OF DICK’S FINISHED WAGONAIRE, GO TO THE FOLLOWING WEBSITE:
https://www.flickr.com/photos/99691157@N00/albums/72157639635533874