
The 1964 Studebaker Wagonaire Windlace Project
This Tech Tip was produced by Warren Wundt and is posted here with his permission.

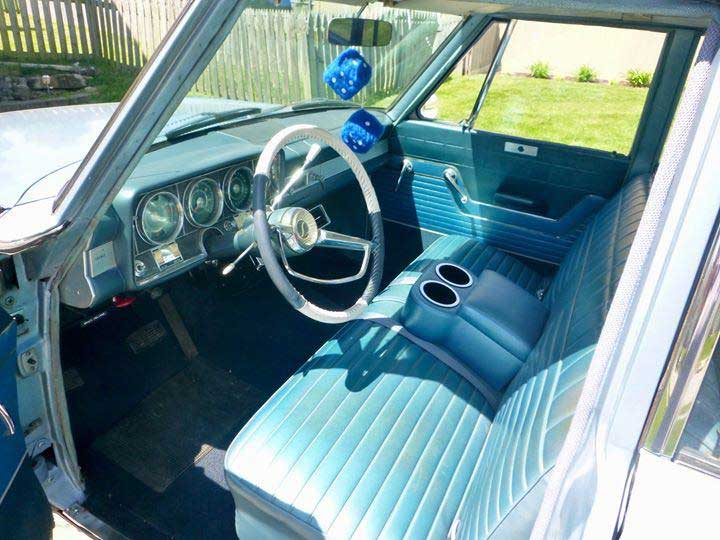
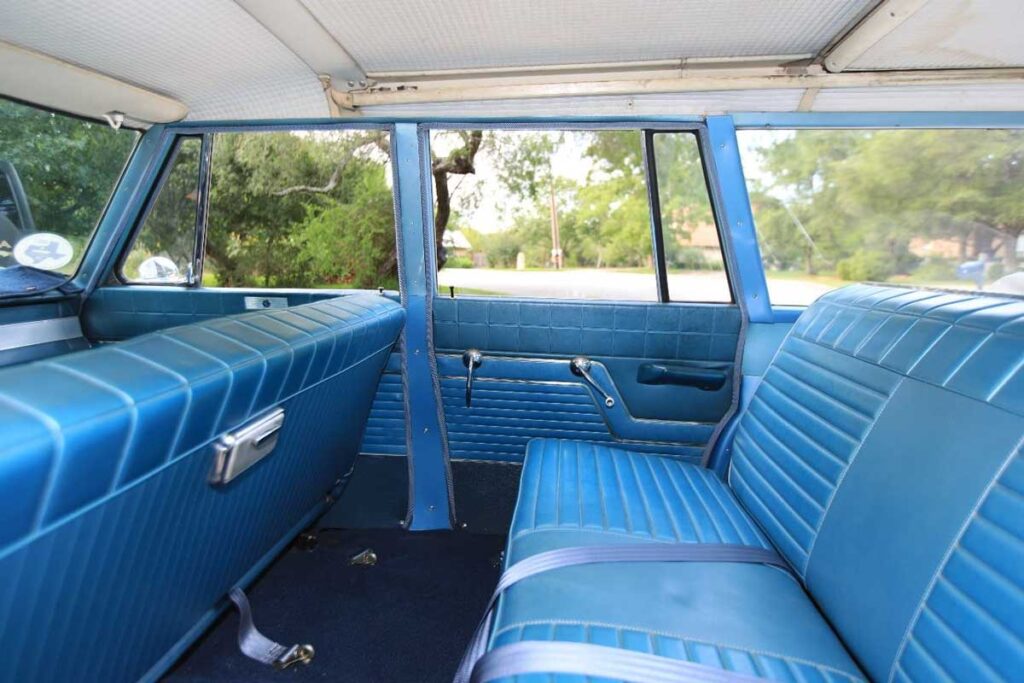
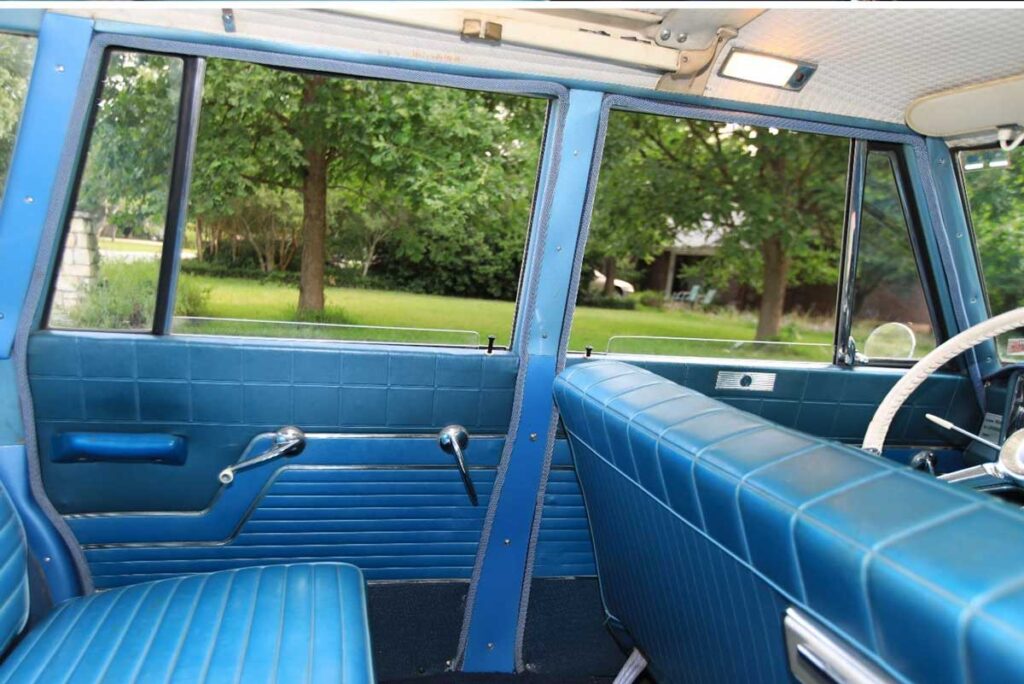
The windlace around the doors is in bad shape. I am undertaking its replacement as a 2020 winter project. For Christmas 2020, I received a gift certificate from Studebaker International which I used to buy the windlace. Original Windlace – previous owner’s photo
Step 1: Obtain Suitable New Material
The first step when replacing the windlace is to obtain suitable new material. Original Studebaker windlace (and new-old-stock) will be dried out and shriveled. I selected new windlace material from Studebaker International.
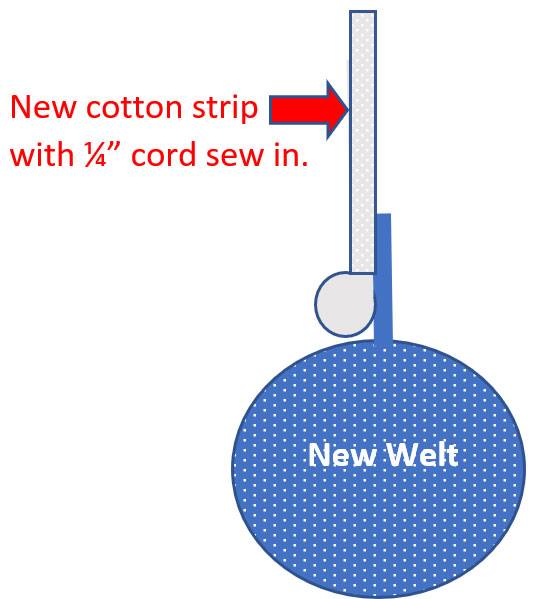
Step 2: Modify the New Windlace Material so it Can Be Installed
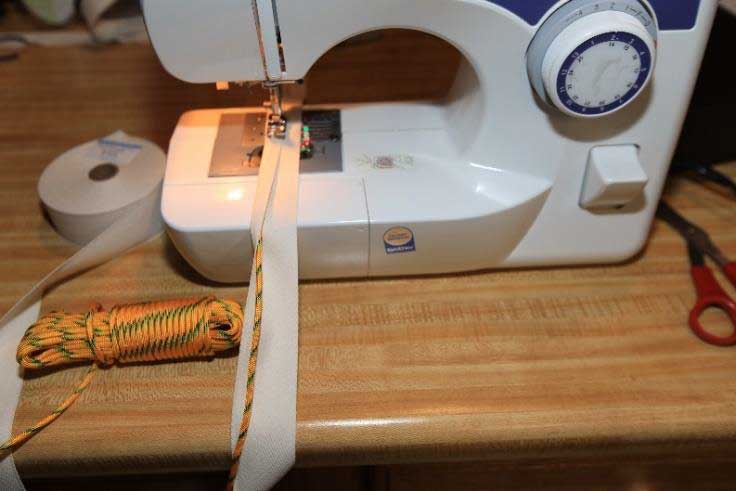
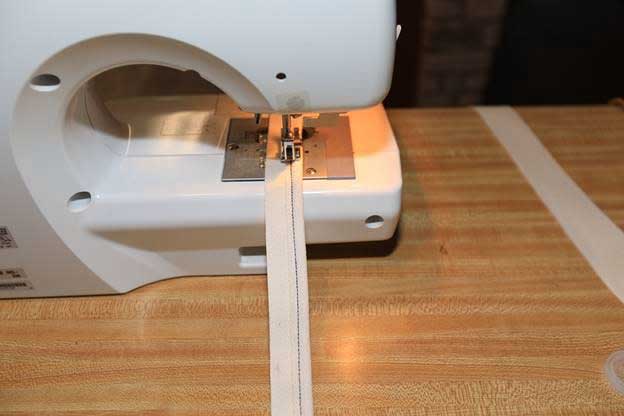
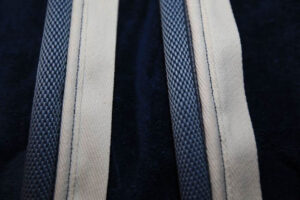
The second step is to modify the new windlace material so that it can actually be installed. The windlace material currently on the market is not made like the original Studebaker windlace. A band of material must be added to secure the windlace into the channels and locking tabs on the doorways. I ordered a roll of 1-1/2″ wide heavy cotton ribbon from an internet vendor and bought a roll of the smallest diameter cord from Home Depot. Using a sewing machine, I was able to modify the new windlace adding a locking tab to approximate the original.
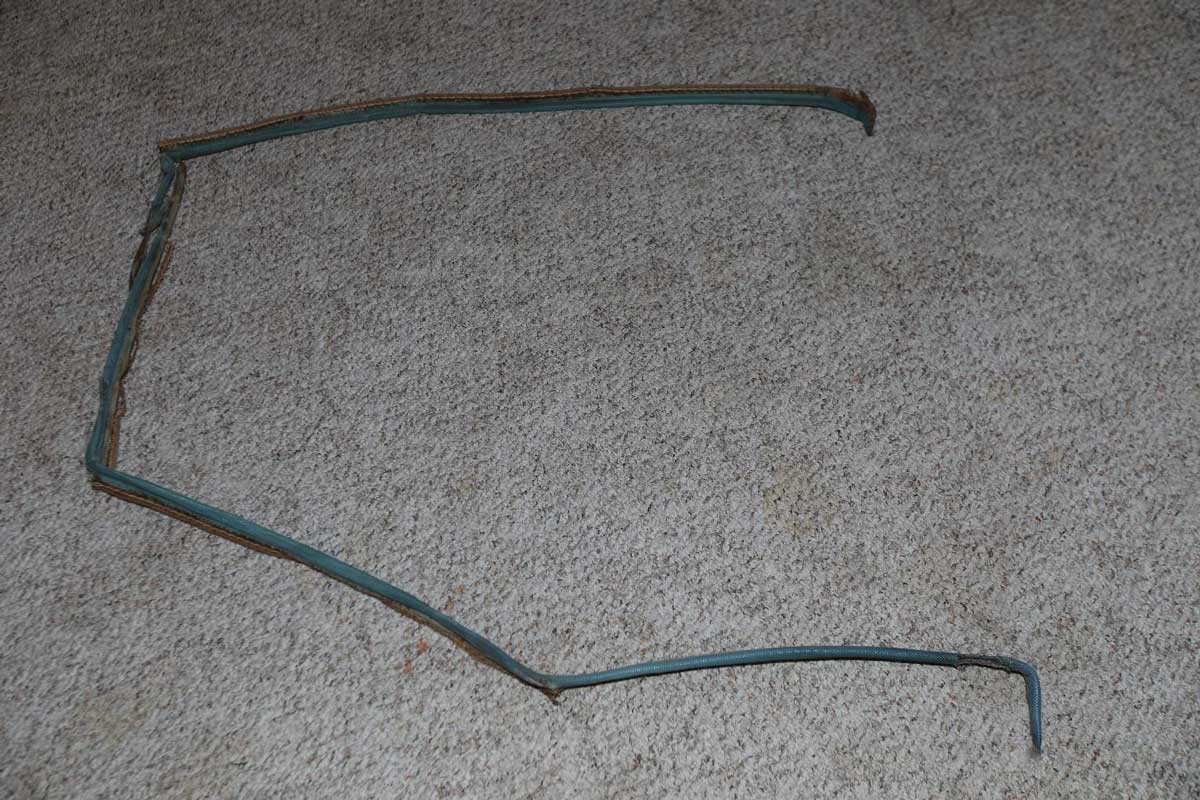
Step 3: Remove the Old Windlace
The third step is to remove the old windlace. As you remove it, make note of how it was originally installed and secured. I took a lot of pictures. On the front doors, remove the kick panels and trim, door post trim, sill plates, etc., carefully bagging screws and clips in plastic bags and labeling each bag to make re-installation easier.
Step 4: Secure the New Windlace in Place and Reinstall Trim
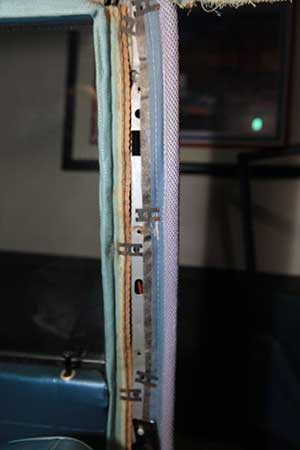
The fourth step is to secure the new windlace in place and reinstall the trim. My major concern in the Wagonaire was removing and installing windlass over the top of the doorways where the windlace tab is tucked under the headliner. The Wagonaire headliner is pressed cardboard and is very fragile. I discovered that the windlace along the top of the doorway is secured under a lip of steel which pinches the tab and keeps the sewn-on cord from pulling back through. I slightly pried the steel lip open with a large screwdriver to remove the old windlace and insert the new and tapped the lip closed again with a carefully aimed hammer.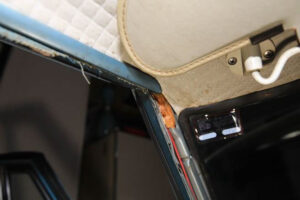
Step 5: Fix Problems
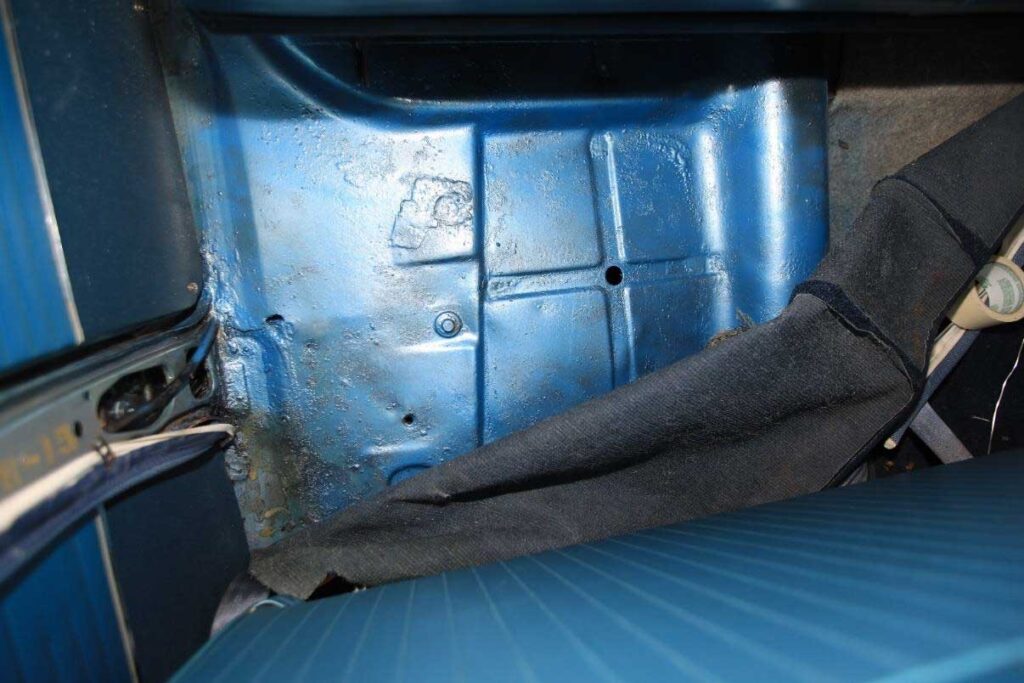
The fifth step was to fix problems. As the windlace installation progressed, any problems encountered or revealed were addressed. Existing trim parts that went back on the car that were rusty, worn out, or need a touch up, were restored while off the car. When removing the sill plates, I discovered some light surface rust under the new carpet and padding. I fixed this with POR15.
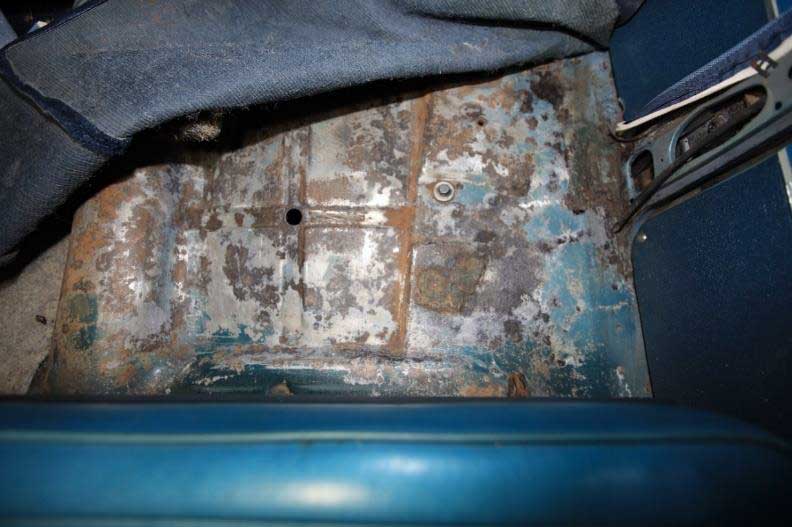
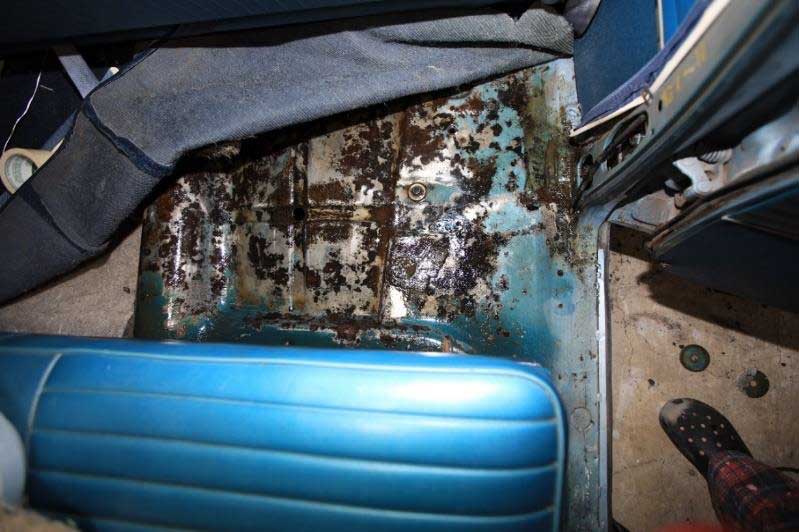
Treated with phosphoric acid, sanded with #80 sandpaper, and treated with clear POR-15
While you have several of the interior panels removed, it might be a good idea to check to see if you need to accomplish any other small projects. I chose to improve the drain tubes of the sliding roof while doing the Windlace. See the other Tech Tip titled Servicing Sliding Roof Drain Tubes.