

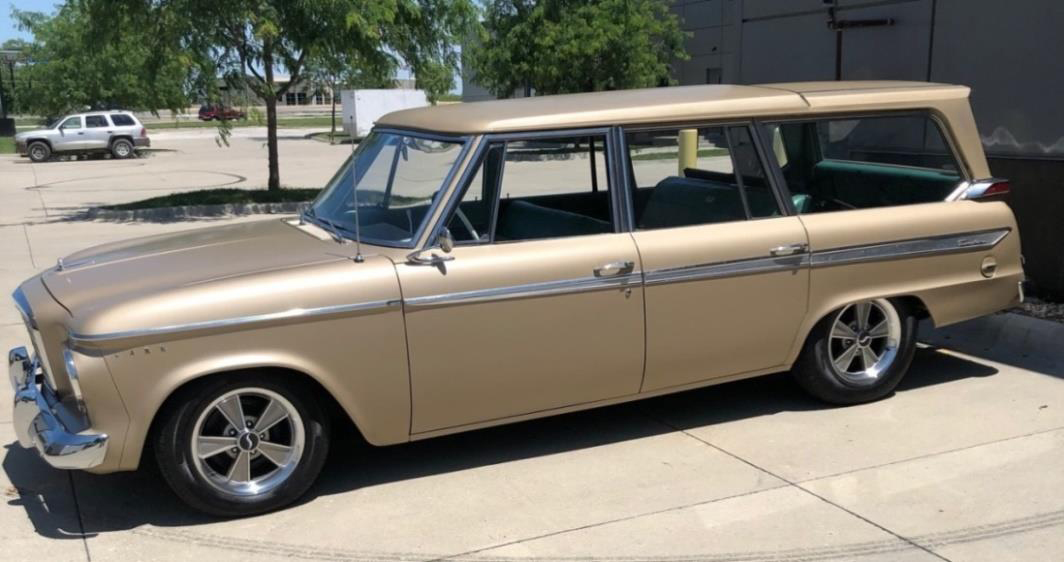
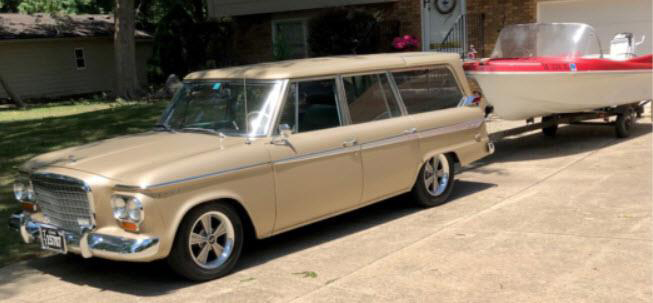
1963 Daytona – Champagne Gold with Green Interior, Final Assy.: 05/09/1963, Drum Brakes, Dual Master Cylinder, Power Steering, Air Conditioner, 3.31 Differential, Push Button AM Radio, Hideaway Seat, Sliding Roof
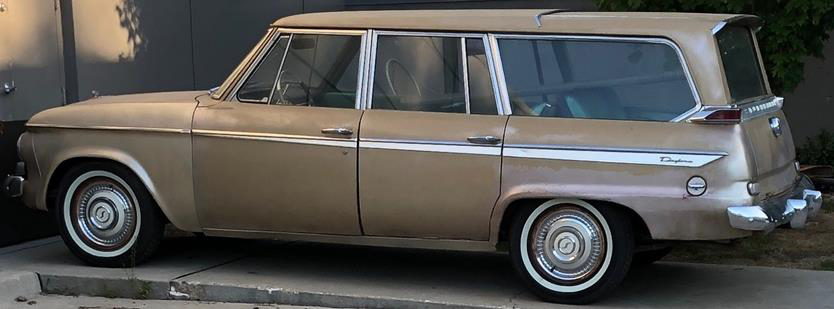
When Dave first saw the For Sale ad for this Wagonaire, the feature that caught his eye was the trailer hitch. He had been looking for a classic car to pull his 1960 boat. Thirty minutes after seeing the ad he was the proud new owner! As many of us may have done, Dave purchased his Wagonaire after seeing only pictures of it. Also as many of us may have experienced, when it finally arrived, Dave suddenly remembered what he had always known but seemed to have temporarily forgotten: that pictures are sometimes kinder to the subject than it appears in real life. Nonetheless, the car had good bones, an almost perfect original interior, and a hitch!
Dave was no stranger to Studebakers, having owned several Studebakers off and on since the 1970s. He is also a longtime member of the Studebaker Drivers Club and the Avanti Club. He remembers the good old days when a run to South Bend would result in a trunk full of NOS parts on the way home. He was also aware that Wagonaires produced from 1963 through 1966 had two unique features: a sliding roof and a Hideaway (third) Seat in the back. The Wagonaire he had just purchased had the Hideaway Seat in the back but the original buyer had also selected the Delete Sliding Roof option — a very unusual combination of options. With easier entry and extra head room, the sliding roof certainly enhanced the usability of the third seat when needed.
The body was pretty rough and the engine was locked up tight. The project had suddenly become a little larger than expected. Despite the obvious challenges needed to bring the car back to life, Dave made a decision that he knew was going to make his job even tougher: “I wanted the car to look like a original old car rather than a restored unit.” To do that while also upgrading some of the features required careful planning and skill. It was decided to complete the mechanical first, remove all the interior second, complete the body work and paint, then reinstall the interior.
Mechanical
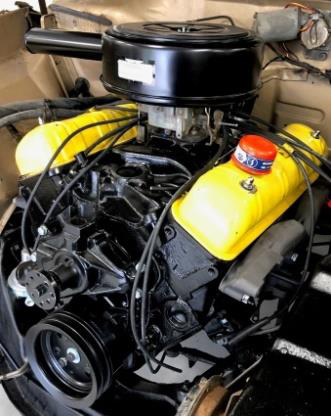 The first project was to get it motivated to both move and stop under its own power. The motor, a 289 Studebaker V8, was locked up. Since this was going to be a daily driver, Dave decided to go with a completely rebuilt Chevy 350 engine, using the motor mounts out of an old Avanti II which he had on hand, paired with a rebuilt 350 transmission. (Note: the original engine was sold to a Studebaker restorer to be recycled and continue service.) Now the purists among us are probably groaning right now. I know because I am usually one of them. But wait just a minute; in an effort to maintain the appearance of originality, Dave fabricated adaptors that allow him to use the original Studebaker valve covers and air cleaner. A really very nice touch and well done, Dave!
While the engine and transmission were out of the car, the inner fenders and the firewall of the engine compartment were pressure washed. In keeping with having an original old car look, it was decided not to repaint them. The stopping issue was addressed with a complete rebuild of the braking system on the car.
Body Work
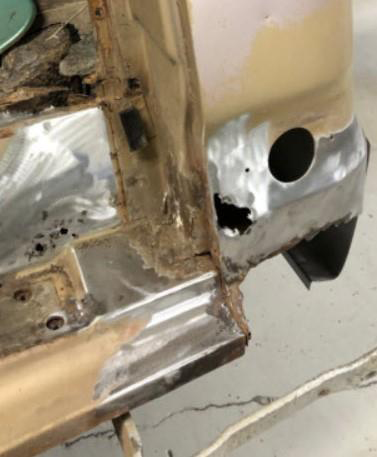
Previous attempts at repairs on the body of the wagon were terrible at best. Tons of Girl Scout cookie tins had been sacrificed; many cans of bondo emptied, yards of fiberglass used, and a little roofing tar for good measure were evident in all the known and usual Studebaker rust spots and some spots probably unique to this car. The crowning touch in all those previous “repairs” was the use of metal door frames from a house door, complete with the dead bolt holes, having been used for rocker panels! It was a mess to say the least.
Since Dave was doing all the body work himself this was a challenge. Luckily, at some point late in the life of the Wagonaire, the front fenders had been replaced with new ones. Another pleasant surprise was the set of NOS rockers found inside the car when it arrived. Now it was time to go to work.
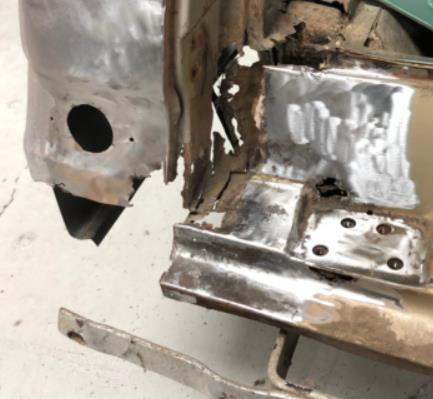
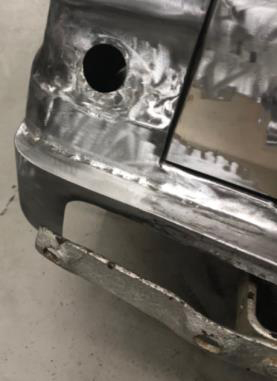
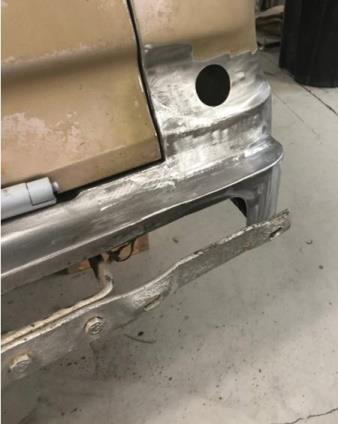
The front floor boards were replaced and the floor braces were replaced along with the lower cowl. The lower quarter panels were also in really bad shape and needed a lot of new metal. The rear jamb across the back under the tailgate had to be rebuilt. These body parts are no longer readily available, if they can be found at all, so Dave fabricated the new panels in his own shop.

Paint
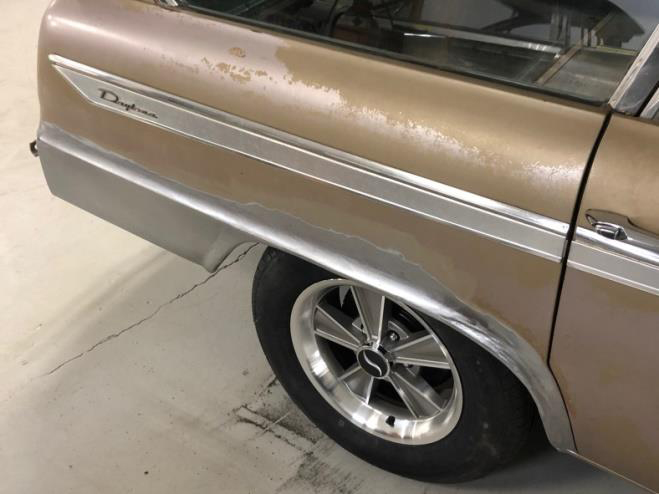
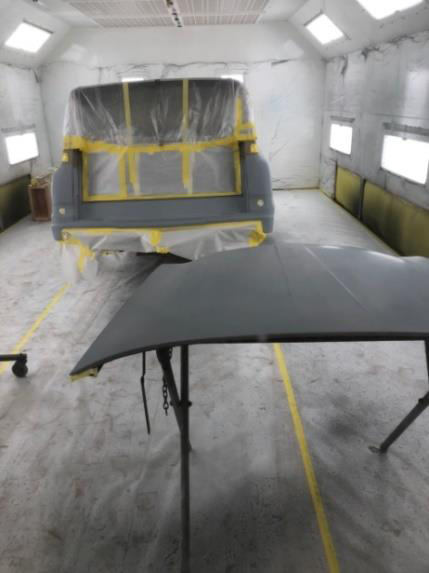
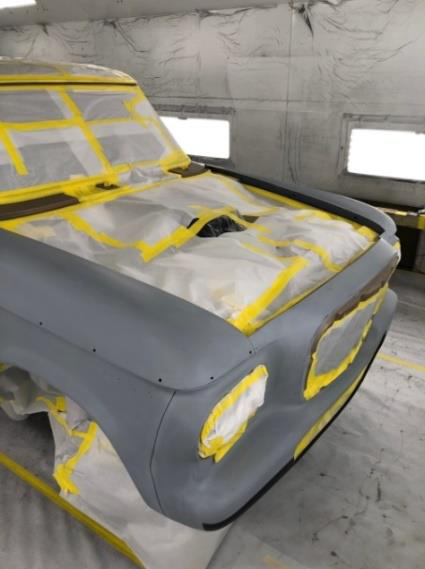
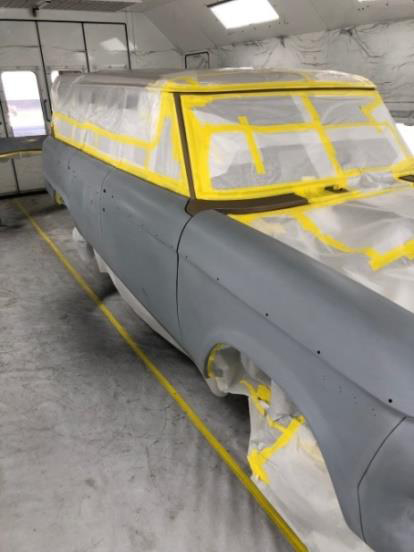
With the engine in and the body work completed, it was time to figure out what to do about the paint. In keeping with his goal of having a car that looks like an original old car rather than a freshly restored one, Dave decided to only paint the car from the windows down. The upper part of the car was still in good shape. The lower body however, addition to the areas that had required extensive repairs, also had mismatched front fenders and hood. This photo was taken the day the Wagonaire arrived.
He did his best to match the original color of the roof. He even mixed his own clear coat in order to get the same sheen on the lower body as was evident on the faded roof. The hood and the tailgate were painted separately. The paint on the lower door jambs was spotted in as need from rust repairs but the rest of the jambs looked good and were left original. Dave calls this a “quickie” job but it looks professional to me.
The Finished Product
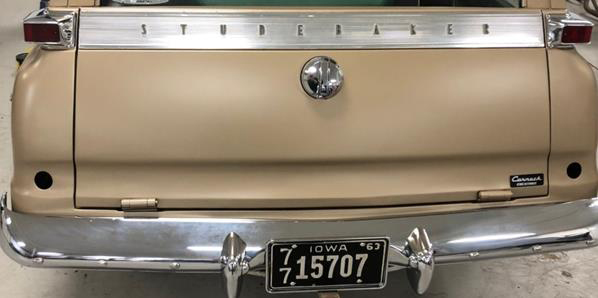
 All of the chrome and stainless on the car is original with the exception of the bumpers. Dave secured two NOS 1964 Wagonaire bumpers and bumper guards and installed them on the car.
While we are talking about sliding roof vs. fixed roof there seems to be an ongoing discussion among owners about the use of the name “Wagonaire” on fixed roof units. Some seem to feel that the name Wagonaire only applies to the units with a sliding roof. Others feel it was just a generic name for all wagon units produced during the 1963 through 1966 period. I have not seen anyone produce something that would give a definitive answer to that question.
As I understand it, and I am confident that the experts will correct me if I’m wrong, the “Delete Sliding Roof” option was not available until late in the production of the 1963 year model. The early Wagonaire in 1963 quickly gained a reputation for the sliding roof to leak. Despite improvements made to the seals, the reputation continued and it took some time to make the option for a fixed roof available. Once production was shifted to Canada the option was no longer available for reasons I do not know.
Interior
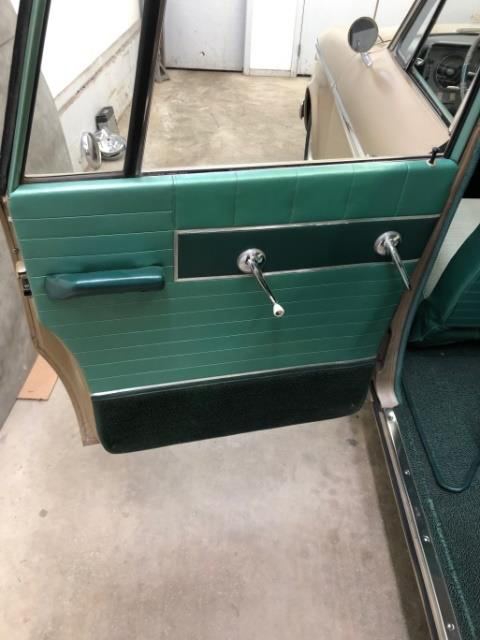
The original interior upholstery was in really nice shape so it was decided to leave the seats and door panels as they were with only a refreshing to get the looking as good as possible. Even the carpet on the bottom of the door panels was good enough to only need a good cleaning. To get them done right required removing them from the body. That left the headliner, windlace, and carpet, which were also removed. They were delivered to Accurate Auto Trim where they were used as patterns to duplicate the originals. Now only one unresolved issue with the interior remained: the Hideaway Seat.
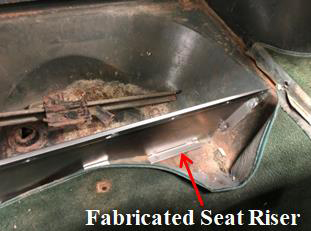
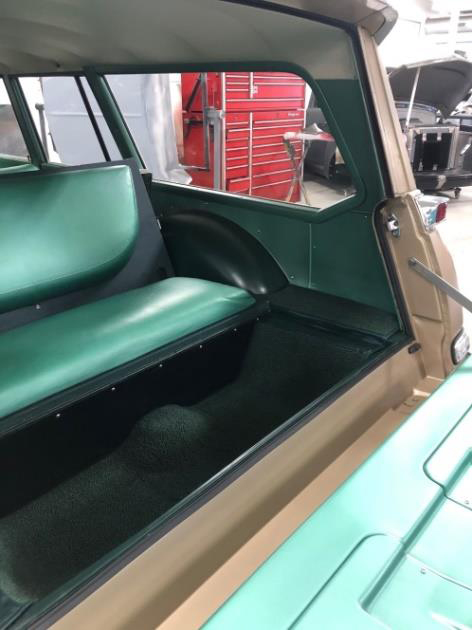
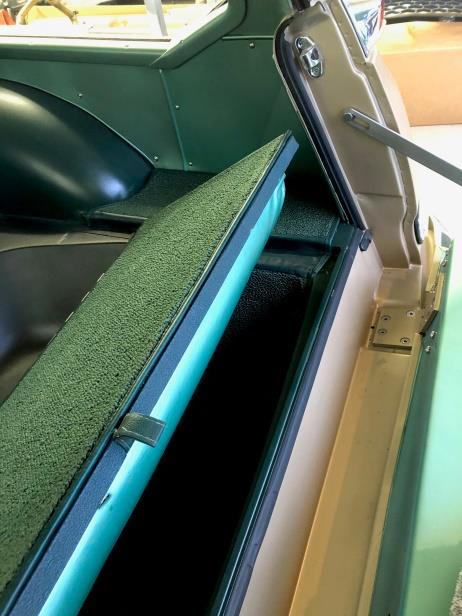
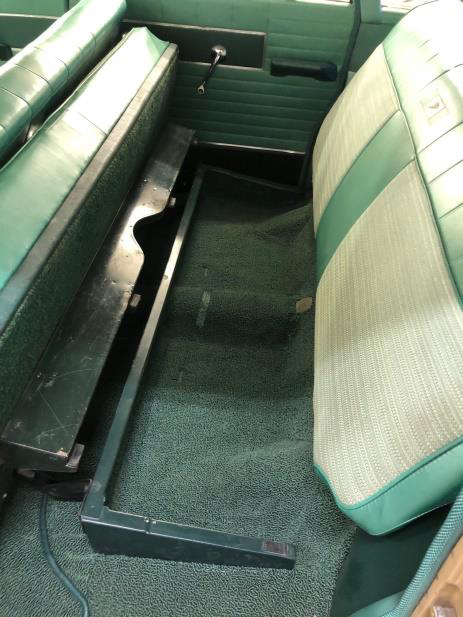
Without a doubt, the most challenging aspect of dealing with the interior was the restoration of the Hideaway Seat in the back of the Wagonaire. The third seat of a Wagonaire was designed to fold down into the space normally used to store the spare tire. To compensate for the lack of a spare tire the cars came equipped with “captive air” tires. At some point in its past a prior owner of this Wagonaire had become disenchanted with the captive air tires and opted for having a spare. The seat riser in the wheel well that allowed the third seat to be used had been removed and was no longer with the car. Luckily, the actual seat and other hardware were still in the car.
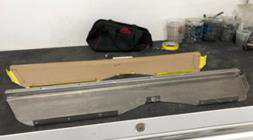
Information on the third seat in a Wagonaire is difficult to come by at best. There is nothing in either the parts manual or the shop manual to give you any idea of how it was designed. The Wagonaire Registry has several owners who, like me, are also trying to put a third seat to their Wagonaire. With Dave’s fabrication skills along with a combination of rough drawings, pictures of actual third seats in Wagonaires, and the pattern of the holes in the spare tire wheel well floor, Dave was able to reproduce the Seat Riser missing piece exactly.
FABRICATING THE SEAT RISER
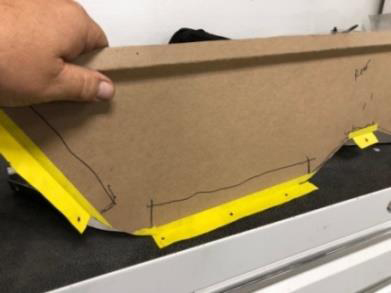
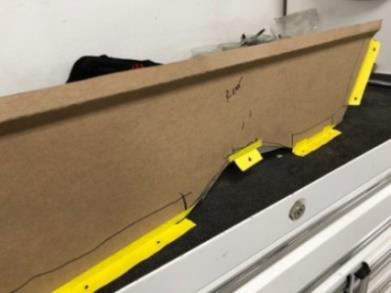
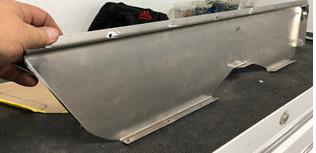
Dave has been kind enough to send me a copy of the pattern he used to make the seat riser for the Hideaway seat. He has also given me permission to send a copy of it to any other Wagonaire owner who might need it while trying to get a Hideaway seat installed in their Wagonaire. Thanks, Dave, for your kind gesture.
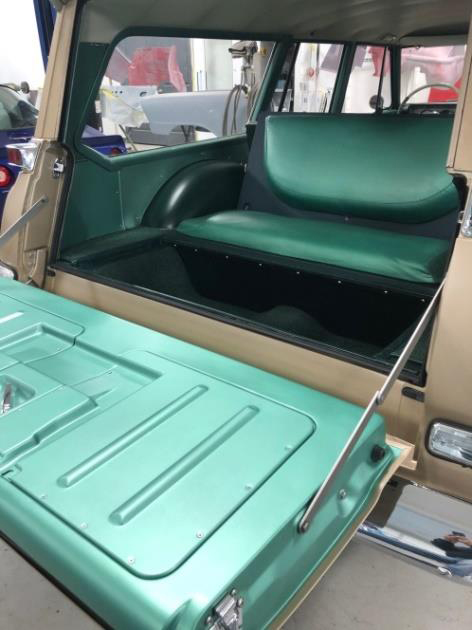
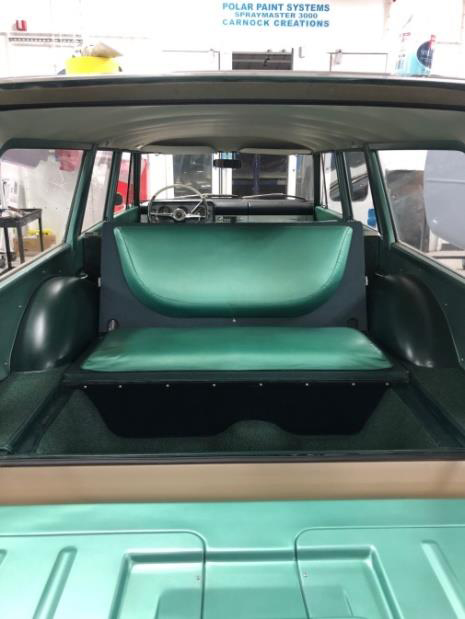
THE BOTTOM OF THE 3RD SEAT FOLDS FORWARD, THE BACKREST THEN FOLDS DOWN
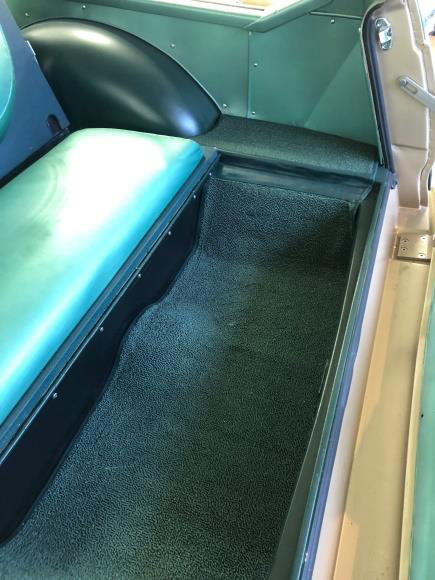
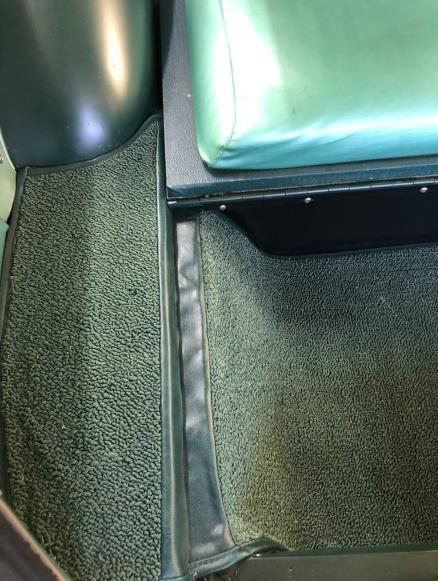
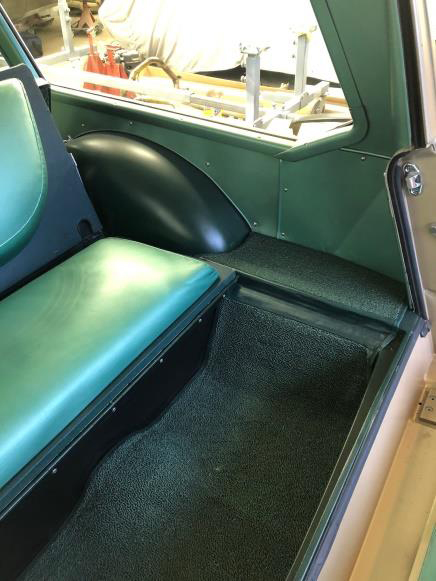
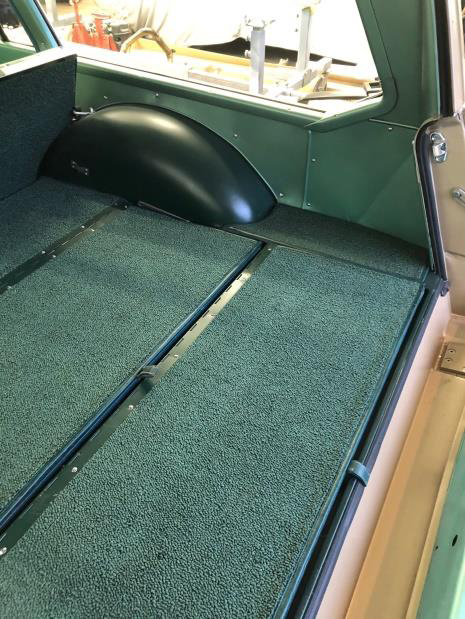
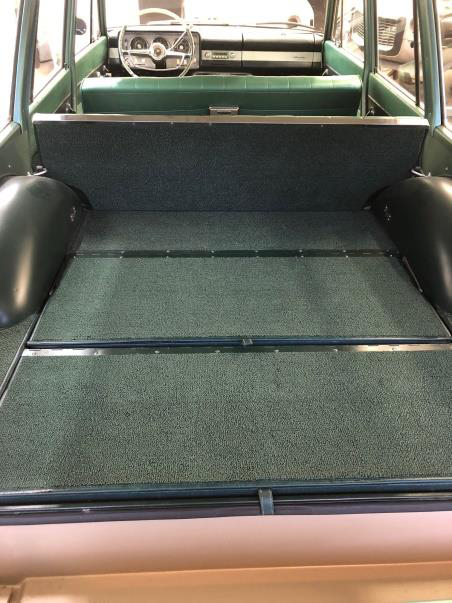
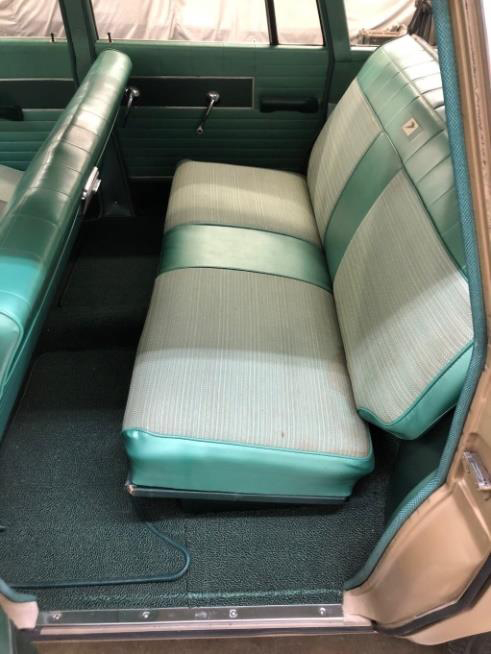
The side panels behind the second row seat, shown above, are the original materials but they were removed and freshened up a little to be compatible with the look of rest of the interior. All of the carpet in the Wagonaire has been replaced using the original as a pattern.
The carpet under the middle seat was added to deaden sound and to protect anything stored there. That is not original.
When it comes to a headliner in a Wagonaire, the owners of the fixed roof units win that contest hands down. Sliding roof units had a printed, cardboard like headliner that has rarely survived and replacements have been unavailable for a long time. The fixed roof units have a more conventional headliner and Accurate Auto, using Dave’s old headliner as a pattern, provided a good replacement for this Wagonaire.

Surprisingly, even the rubber door seals mostly remain all original. All of the glass in the Wagonaire is the original but the doors and tailgate all have new run channels for the glass.
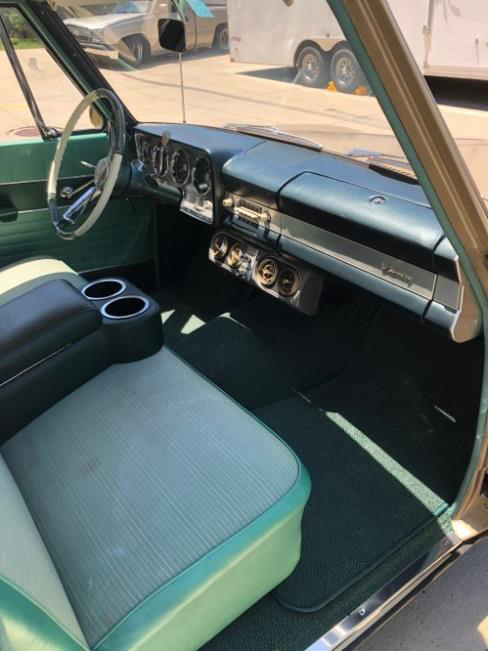
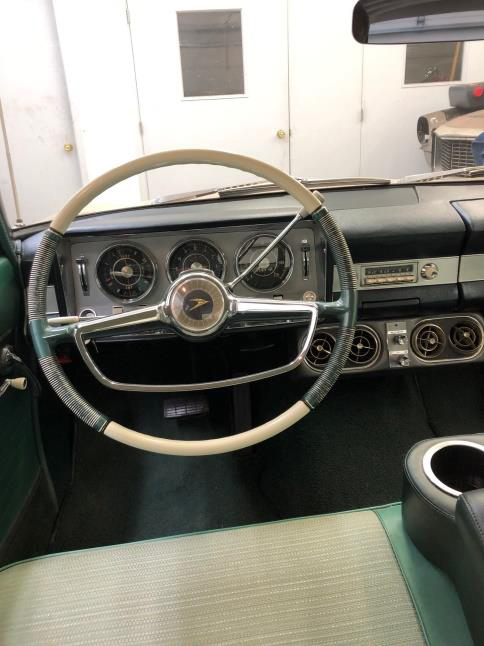
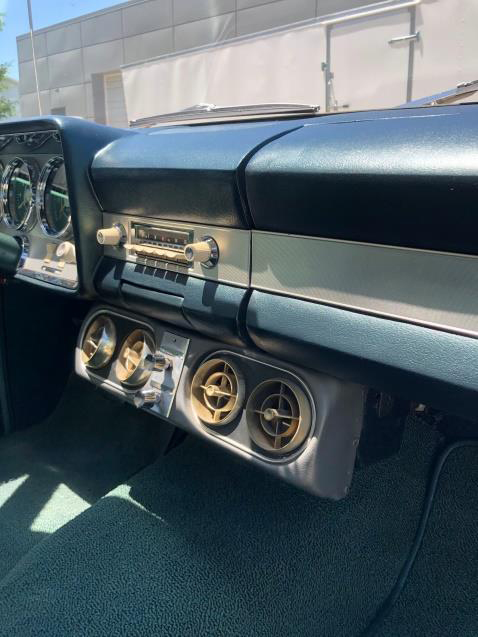
The dash had the usual cracks in it and was repaired and then dyed by Dave. The good looking push button AM radio still functions just fine! The Wagonaire had air conditioning installed by the factory when the car was built. Once again Dave wanted to upgrade the system but keep the look of the original. A complete new system was installed, including the under dash unit, but Dave managed to retain the original look of the under dash unit by adapting the original front plate and vents to fit the new unit. He even managed to use the original knobs. It makes a very nice presentation.
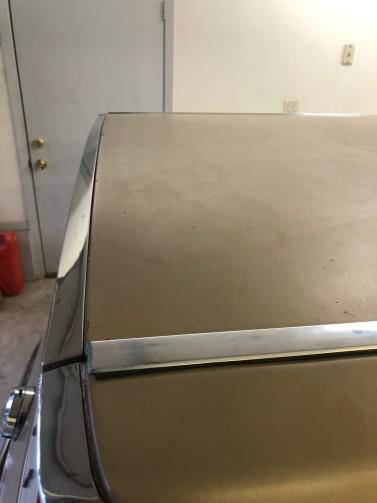
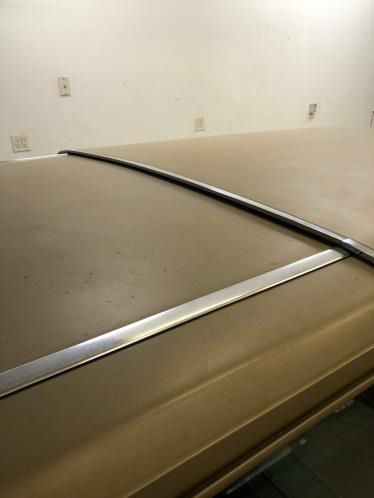
Since I have never seen a fixed roof Wagonaire I was very curious about how they went about making the roof a permanent part of the body. Once again Dave was kind enough to answer my never-ending barrage of questions and provide pictures to make it clearer. Basically the fixed roof was accomplished by simply bolting the sliding roof panel to the body. The panel is bolted to the part of the structure where the sliding rails would be with brackets containing four bolts each. On the seam where the panel meets the existing fixed roof structure there appears to be a gasket as well. To cover the seam on each side of what would have been a sliding panel they used chrome (or stainless steel, I’m not sure which) strips to cover the seam. It makes a nice presentation. See the pictures below.
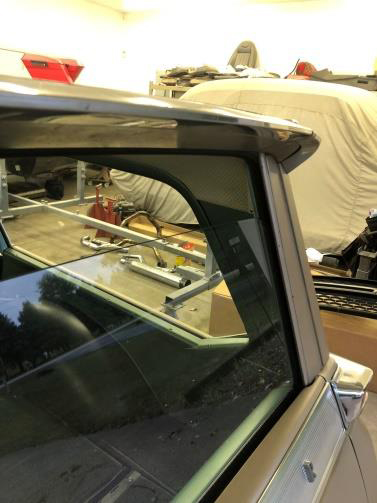
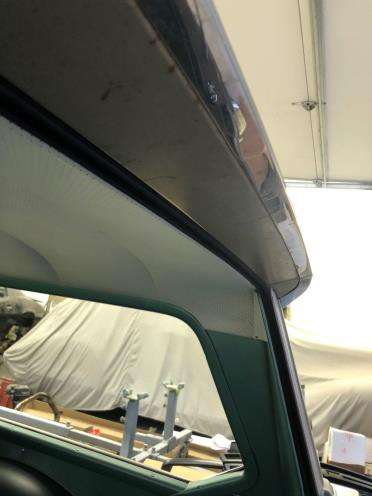
With a fixed roof the tailgate glass no longer needs the chrome frame around only the glass. It now is fully contained in the window channel of the side and top of the window opening.
Reverting back to the question about the use of the name Wagonaire mentioned before, I noticed that the tailgate on Dave’s Wagonaire had no “Wagonaire” badge attached to the right side. Every other 1964 Wagonaire I have seen has that badge. Dave confirmed that the tailgate, which was still in the original paint when examined, showed no signs of ever having a badge. I thought that this might confirm that the factory did not consider fixed roof units to be Wagonaires. At least I thought that until I read the final build sheet in which it states that they had built a “Wagonaire.” So much for that theory.
This Wagonaire has been in Des Moines all of its life. Even after 63,000 miles, Dave’s tailgate still had the remaining outline of the original dealer’s tag showing. Amazingly enough, the Hummel’s dealership, which sold this Wagonaire new, is still in business. The location has changed and they now sell Nissans instead of Studebakers but they are still owned and operated by the same family.
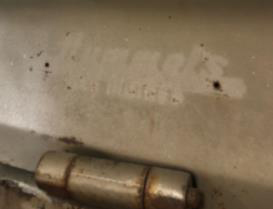 Dave has been trying to find an original Hummel’s dealership tag to put back on the car but has so far had no luck. Until then Dave has placed his own tag on the car.
If you happen to know where Dave might find an original Hummel’s tag please let me or Dave know.
NOW DAVE CAN PULL HIS 1960 BOAT!
NOTE
I thought this Wagonaire was unique enough that many of the members of the Wagonaire Registry would enjoy hearing the details about it. It was created to be added to the tab “Studebaker Stories” on the Wagonaire Registry website at wagonaire.info. Any and all errors in the document are solely my mistakes.
I need to thank Dave Carnock who furnished all the photographs used in this document and for his willingness to answer page after page of questions in email after email. Dave is the owner of Carnock Creations LLC in Des Moines, Iowa. His shop specializes in restorations and street rod work, doing mainly complete builds with 6 full-time technicians. His Facebook pages are full of amazing builds and worth taking the time to open at: https://www.facebook.com/Carnockcreations/